Navigating the Waters: How to Use Fish Finders Effectively
Most anglers guess where fish hide by sight or luck. That old way wastes hours and leaves you empty-handed. Learning how to use fish finders can change your entire fishing trip. This guide breaks down the best fish finders, fish finder reviews, and fish finder comparison tips so you catch more with less guesswork. For more insights, check out this guide on using fish finders.
Understanding Fish Finders
Fish finders are a game-changer for any fishing adventure. Instead of relying on guesswork, these devices help you locate fish quickly and accurately. Let’s explore what these tools are all about.
What Are Fish Finders?
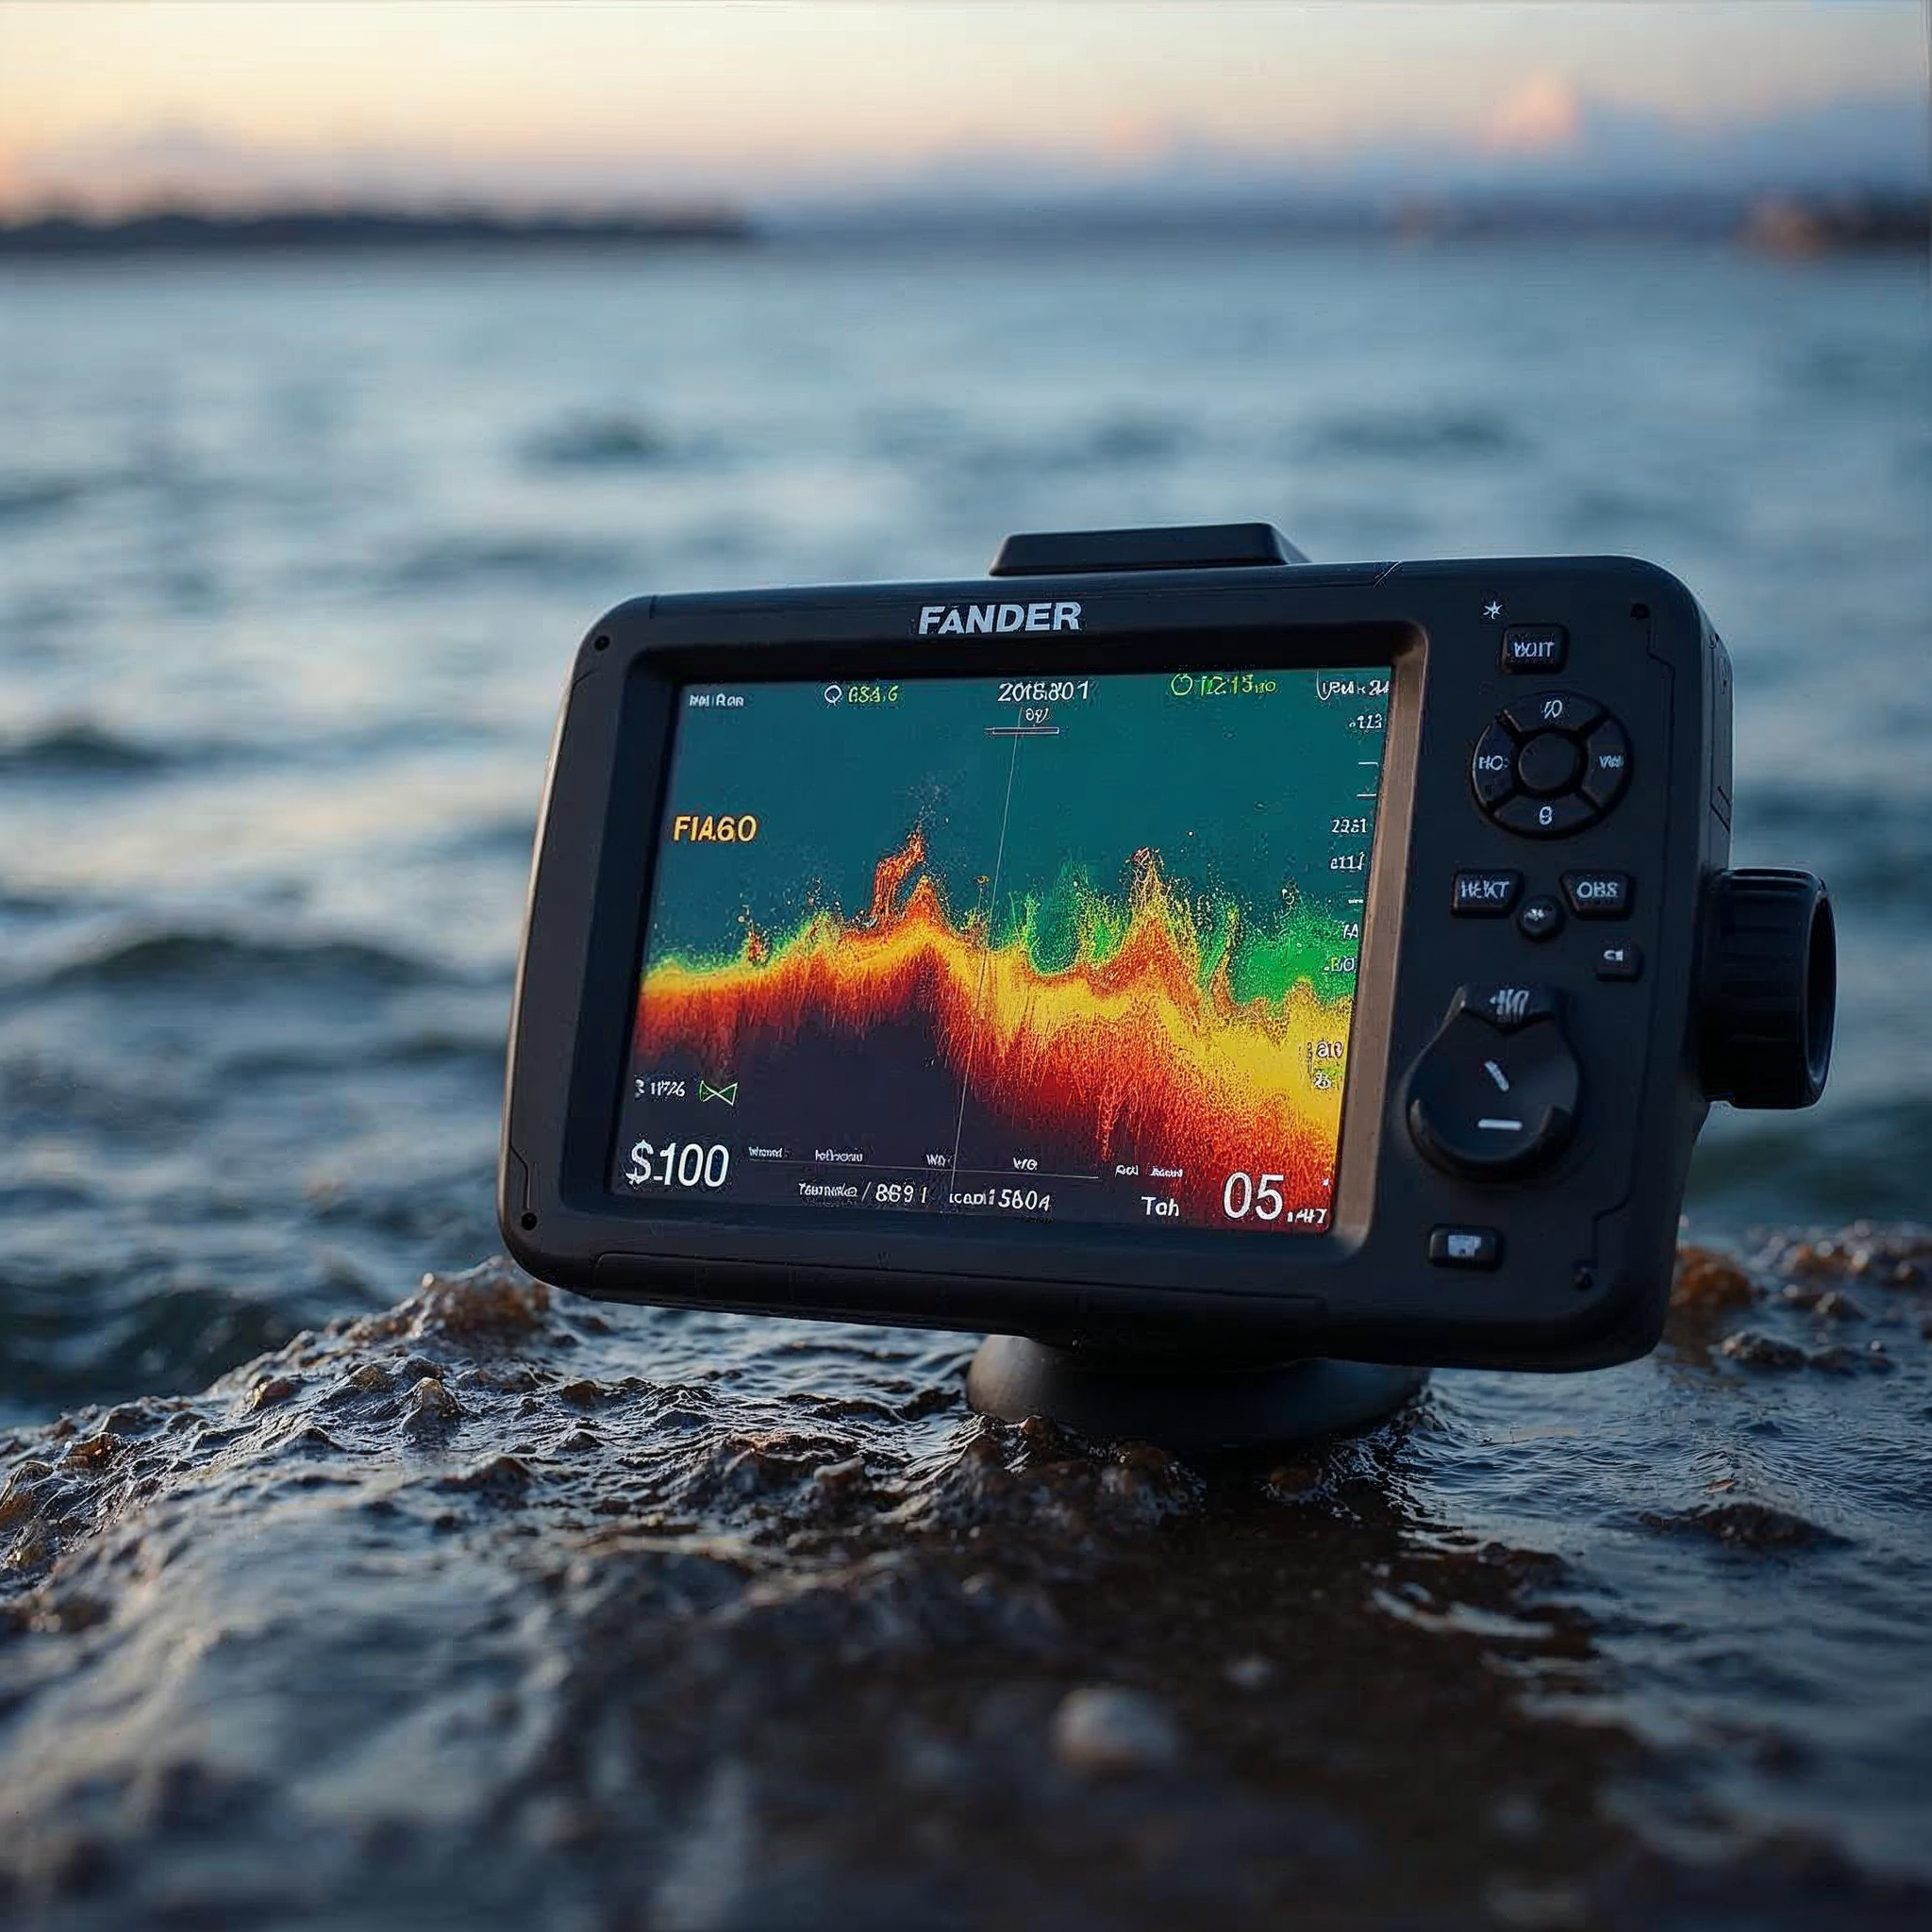
Fish finders are electronic devices that use sonar technology to detect fish underwater. They send sound waves into the water, and when these waves hit something solid, like a fish, they bounce back. The device then uses this information to create an image on the screen. This allows you to see where fish are hiding and adjust your strategy accordingly. Most devices are portable, making them perfect for any fishing trip.
Types of Fish Finders
There are various types of fish finders available, each with unique features.
-
Standalone units: These are basic models focusing solely on fish detection. They are perfect for beginners due to their simplicity.
-
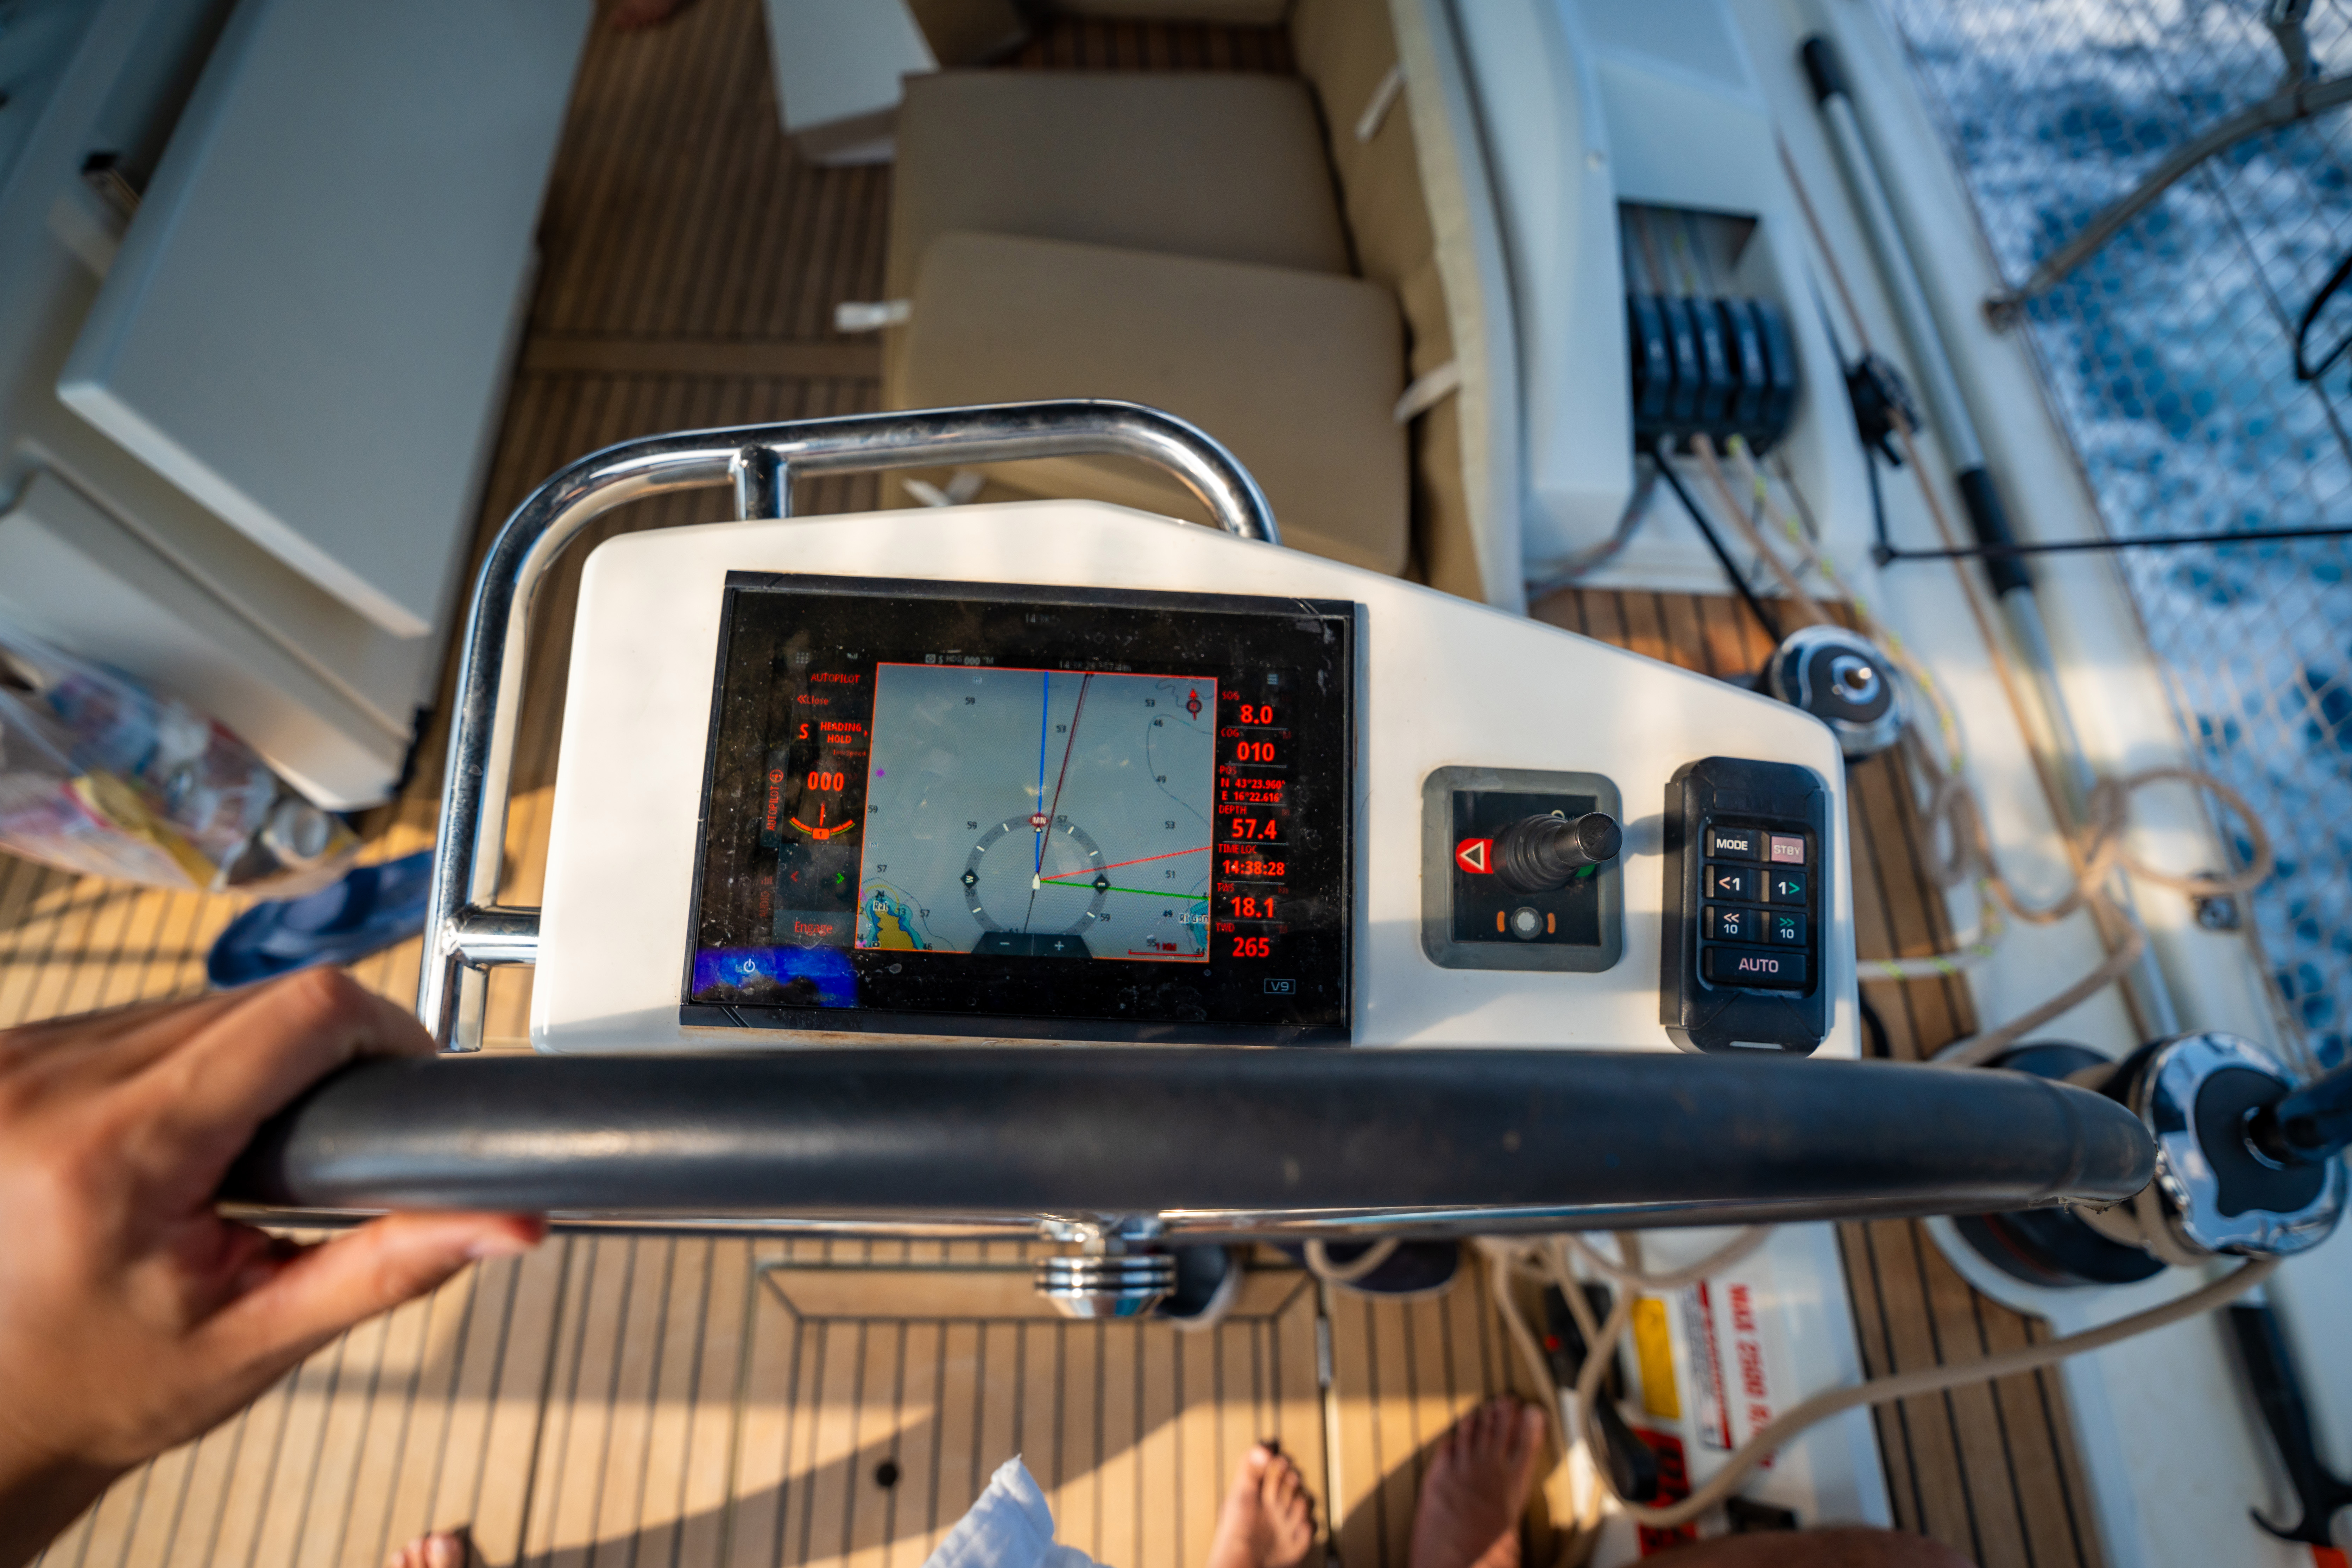
Combination units: These devices combine sonar with GPS, providing navigation alongside fish detection. They are ideal for seasoned anglers who navigate larger bodies of water.
-
Networked systems: These advanced setups integrate with other marine electronics, offering a comprehensive fishing experience. They are suited for those who want the ultimate fishing tech package.
Fish Finder Reviews
Reading reviews can save you time and money. For instance, the Humminbird Helix series often ranks high in user satisfaction for its clear displays and reliable performance. Meanwhile, Garmin’s Striker series is praised for its user-friendly interface. When choosing a fish finder, consider the ease of use, screen size, and additional features like GPS or Wi-Fi connectivity. Online forums and communities, like this one on Facebook, can provide insights from fellow anglers.
How to Use Fish Finders
Now that you understand the basics, it’s time to learn how to use fish finders effectively. This section will guide you through setting up your device and interpreting its display.
Setting Up Your Device
Setting up your fish finder is straightforward if you follow these steps:
-
Mount the Transducer: Place it on the transom of your boat for optimal sonar performance.
-
Power On the Unit: Connect it to a power source and turn it on.
-
Adjust the Settings: Set preferences for depth, range, and sensitivity. Start with automatic settings and adjust as needed.
Getting the setup right is crucial for accurate readings. Ensure there are no obstructions near the transducer, as they can interfere with the sonar waves.
Interpreting the Display
Understanding what you see on the screen is key. Fish finders display various elements like depth, water temperature, and fish presence.
-
Fish icons or arches: Represent fish. The size and shape can indicate the fish’s size and depth.
-
Bottom contour: Shows the structure of the waterbed. Look for sudden drops or rises, as these are common fish habitats.
-
Temperature gauge: Helps you find spots where fish might be more active, as some species prefer specific temperatures.
Being able to read the display aids in making informed decisions on where to cast your line.
Common Mistakes to Avoid
Avoiding mistakes ensures you get the most out of your fish finder.
-
Ignoring manual settings: While automatic settings are helpful, tweaking them can enhance accuracy.
-
Overlooking updates: Manufacturers often release software updates that improve device performance.
-
Not practicing enough: Familiarity with your device comes with practice. Spend time experimenting with settings and features.
These tips will help you avoid common pitfalls and improve your fishing game. For more advanced tips, explore this detailed forum discussion.
Choosing the Best Fish Finders

Knowing how to use a fish finder is just the start. Picking the right device is equally important. Let’s dive into what to consider when making your choice.
Key Features to Look For
When shopping for the best fish finders, focus on these features:
-
Display clarity: A clear, bright screen is crucial for reading data in different lighting conditions.
-
Sonar type: Dual-frequency sonar provides a more versatile reading, useful for varying depths.
-
Durability: Look for water-resistant and robust models, especially if you fish in harsh conditions.
Choosing a fish finder with these features ensures a reliable tool that enhances your fishing experience.
Fish Finder Comparison
Here’s a simple comparison of popular models:
|
Model |
Features |
Price Range |
|---|---|---|
|
Humminbird Helix |
Clear screen, GPS, CHIRP sonar |
$300-$700 |
|
Garmin Striker |
User-friendly, built-in GPS |
$150-$500 |
|
Lowrance Elite |
High-resolution display, easy setup |
$250-$800 |
This table can help you narrow down choices based on features and budget.
Budget-Friendly Options
You don’t need to break the bank to get a good fish finder. Brands like Garmin and Lowrance offer budget options with essential features. The Garmin Striker 4 is a compact model praised for its performance, available under $200. Investing wisely in a good fish finder can transform your fishing experience without overspending.
By mastering these insights, your fishing trips can become more productive and enjoyable. Remember, the longer you wait to start using a fish finder, the more catches you might miss out on. Look into more community stories and expert advice to keep growing your fishing knowledge.